
Post by muddydragon on Nov 6, 2014 12:22:10 GMT
How to Make Limestone Blocks
Making your own limestone blocks is surprisingly easy and quick.
Things You Need

• Limestone flour - You can buy this online and at equestrian stores (if you have a small number of snails I would advise a much smaller amount than seen here).
• Bowl - in which to make the limestone blocks.
• Water - in a bottle or jug for easy pouring.
• Spray bottle of water - to add smaller amounts of water.
• Plastic stirrer - to stir the limestone with.
• Optional extras (Not pictured) - such as limestone grit, oystershell powder, oystershell grit, ground egg shell, vitamin D powder.
Step One
Put some limestone flour and any optional extras in the bowl (you can always store spare blocks if you make too much or add more limestone flour later if you make too little).
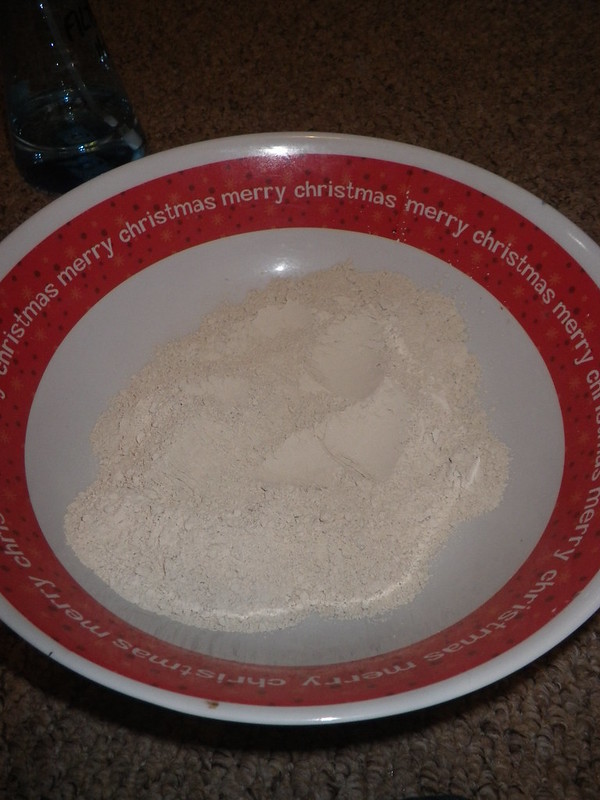
Step Two
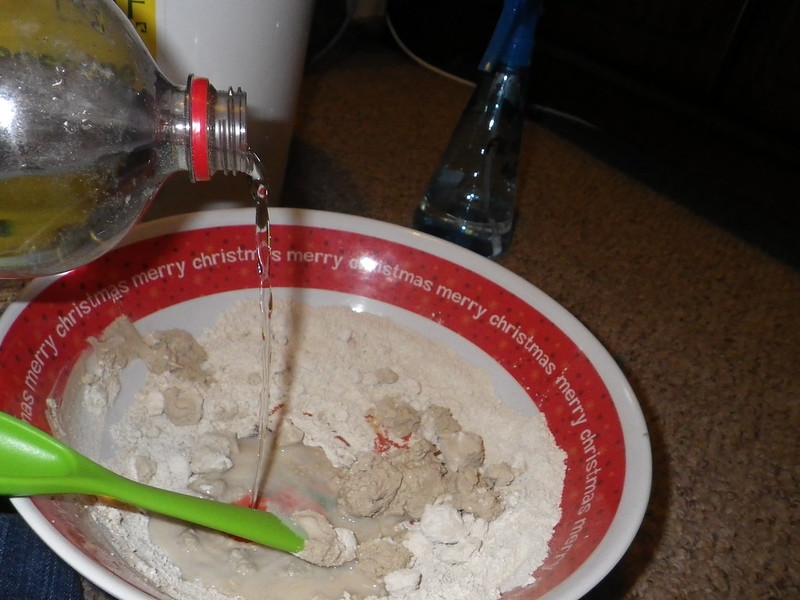
Dribble some water to the bowl and stir (if making a small amount it may be best to use the spray bottle).
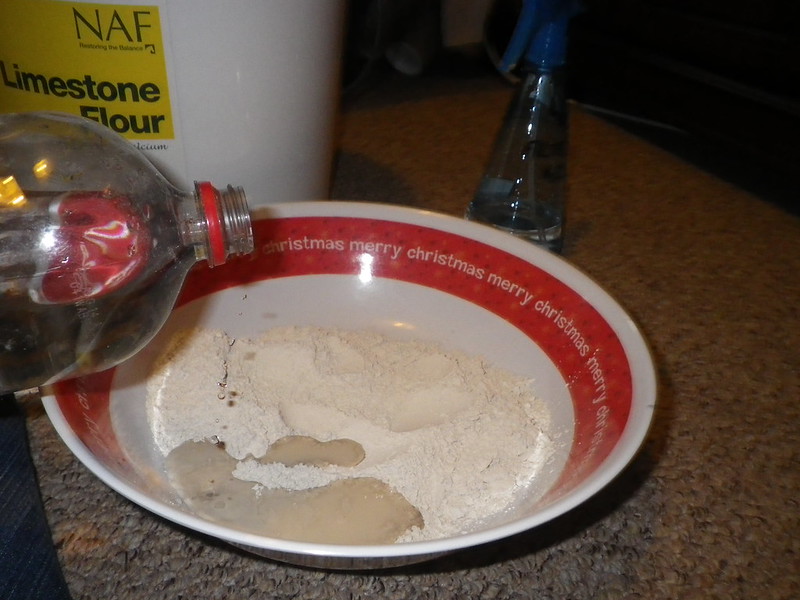
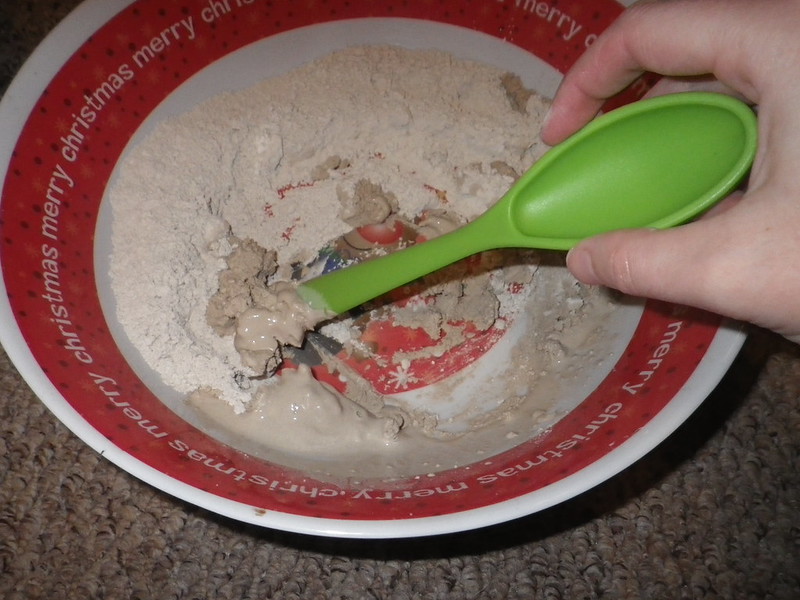
Keep adding a little bit of water, either slowly dribbled or sprayed on, and stirring until the limestone flour changes colour and is a slightly sticky, lumpy, crumbly consistency.
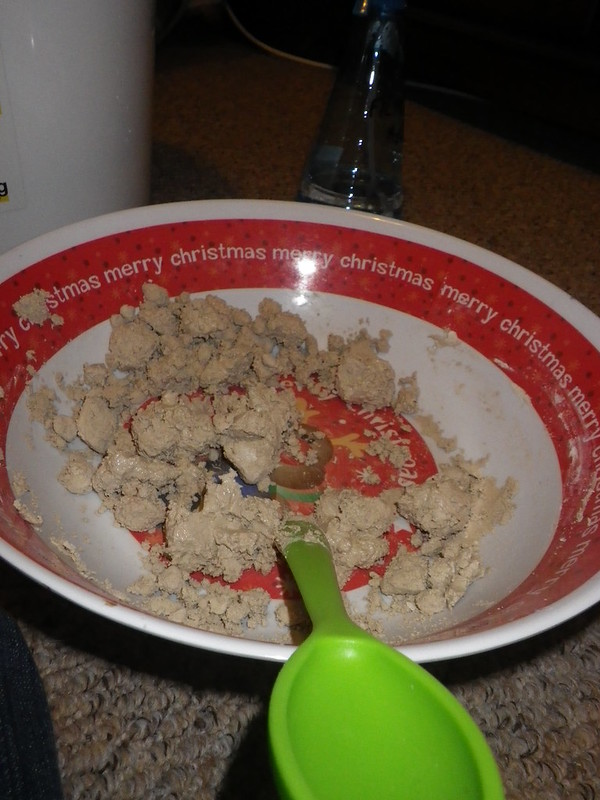
The correct consistancy:
If you feel you don’t have enough add more limestone flour and water and continue mixing until you feel you have enough.
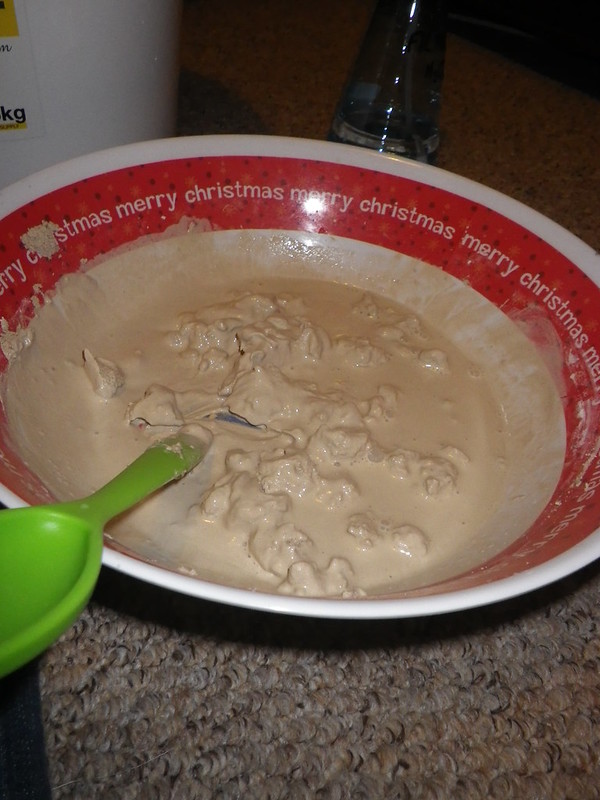
If you have added too much water (as seen here) just add more limestone flour and stir in.
Too much water:
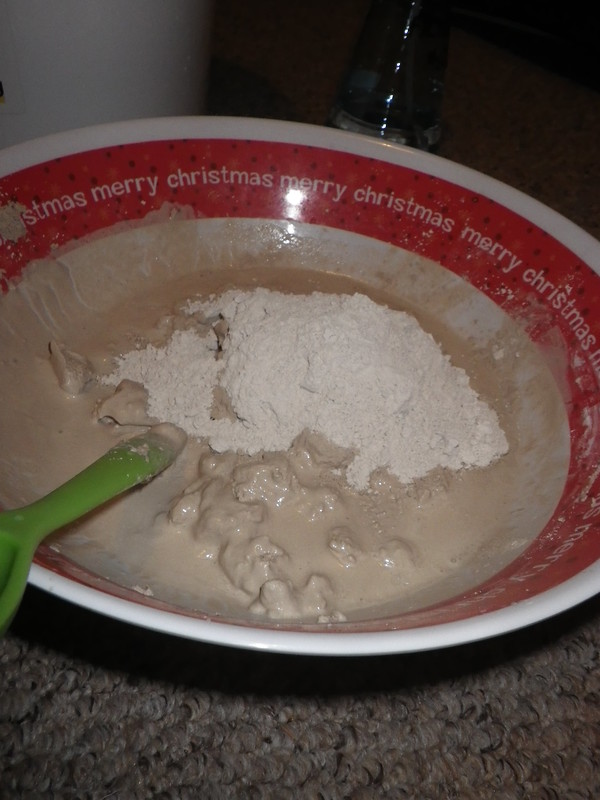
More limestone flour added:
Once you have the correct consistency and amount move on to step three
*note* this is somewhat akin to making icing, the limestone flour will suddenly go and can easily become too wet hence the need to add little bits of water at a time.
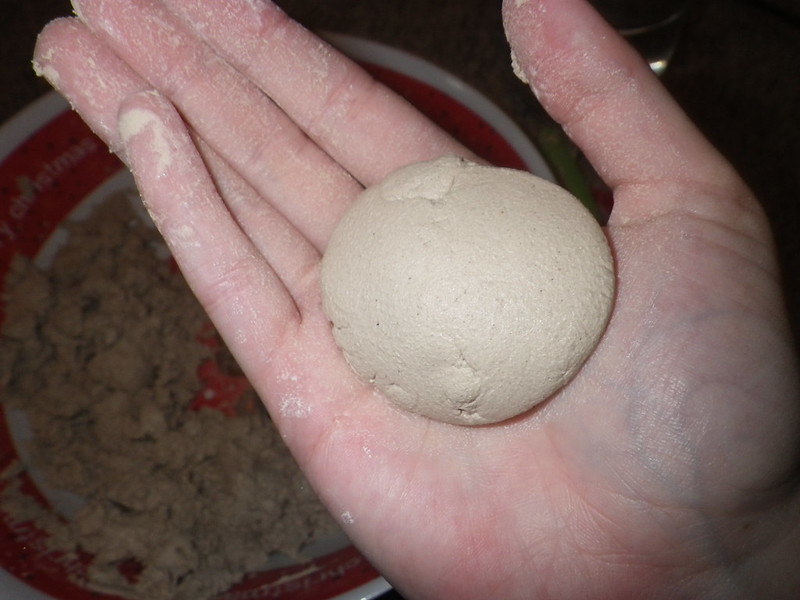
Step Three
Take some of the limestone and roll it into balls with your hands, you want the balls to not fall apart but to be firm and ideally not sticky (typically you want them so they leave a little bit of residue on your hands). Make sure your hands are clean and do not have anything on them such as moisturiser.
If the limestone will not stick together to form balls try stirring it a bit more or working it between your hands more to form a more even consistency. If the ball still crumbles you can spray on a tiny bit more water.
*note* you can also press put the limestone flour mix into moulds if you prefer however they will take a lot longer to dry if you do this.
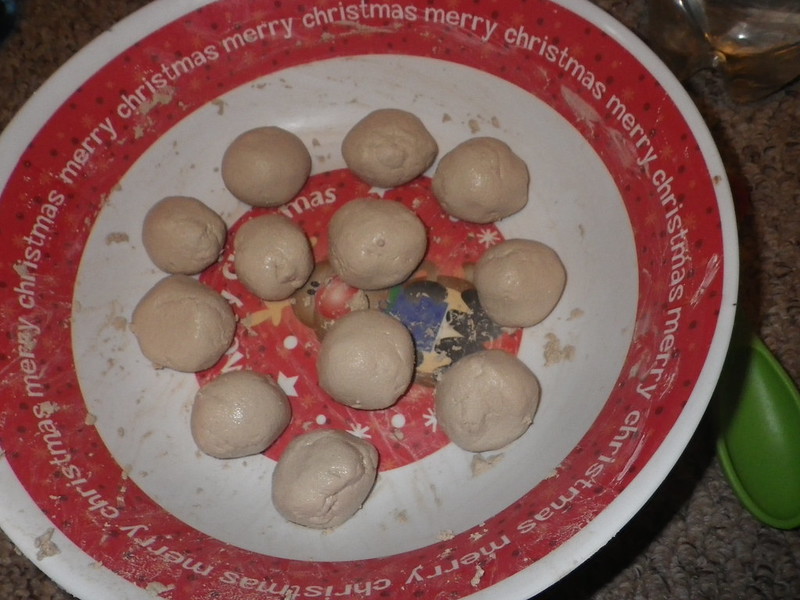
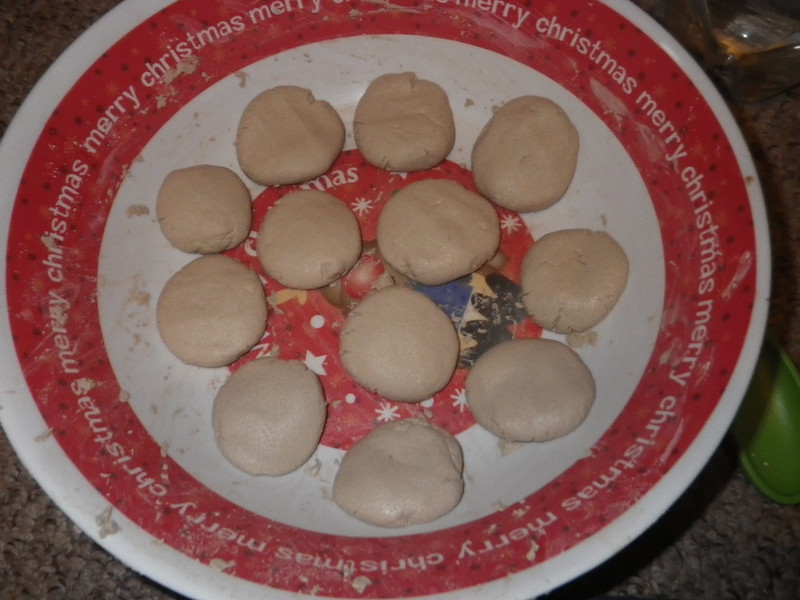
Step Four
Place the balls in a bowl or on a clean tray and flatten them leaving enough space between each one for them to dry easily. Leave them somewhere sunny and/or warm to dry (the less wet they are to start with the less time they will take to dry).
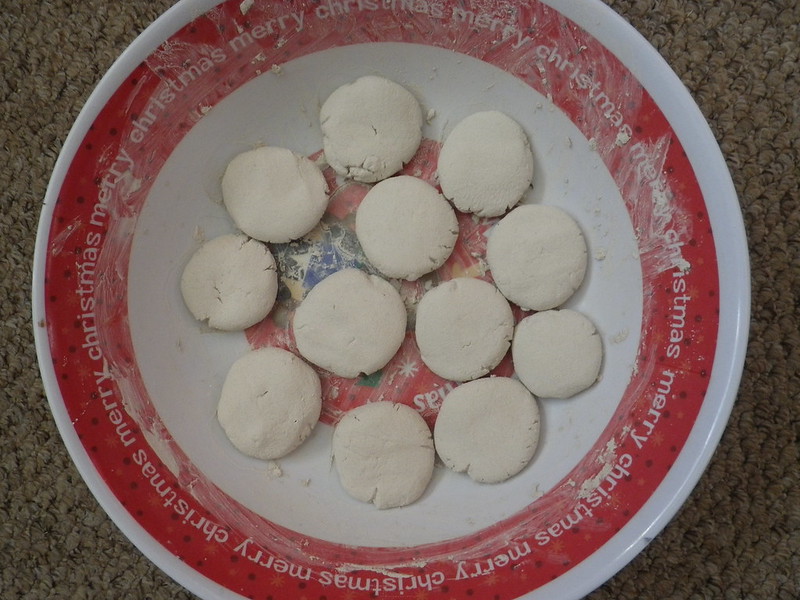
Step Five
Once dry they will be hard blocks. Put them in your snail tank(s) for your snails to enjoy and store any spares in an airtight container.
Making your own limestone blocks is surprisingly easy and quick.
Things You Need
• Limestone flour - You can buy this online and at equestrian stores (if you have a small number of snails I would advise a much smaller amount than seen here).
• Bowl - in which to make the limestone blocks.
• Water - in a bottle or jug for easy pouring.
• Spray bottle of water - to add smaller amounts of water.
• Plastic stirrer - to stir the limestone with.
• Optional extras (Not pictured) - such as limestone grit, oystershell powder, oystershell grit, ground egg shell, vitamin D powder.
Step One
Put some limestone flour and any optional extras in the bowl (you can always store spare blocks if you make too much or add more limestone flour later if you make too little).
Step Two
Dribble some water to the bowl and stir (if making a small amount it may be best to use the spray bottle).
Keep adding a little bit of water, either slowly dribbled or sprayed on, and stirring until the limestone flour changes colour and is a slightly sticky, lumpy, crumbly consistency.
The correct consistancy:
If you feel you don’t have enough add more limestone flour and water and continue mixing until you feel you have enough.
If you have added too much water (as seen here) just add more limestone flour and stir in.
Too much water:
More limestone flour added:
Once you have the correct consistency and amount move on to step three
*note* this is somewhat akin to making icing, the limestone flour will suddenly go and can easily become too wet hence the need to add little bits of water at a time.
Step Three
Take some of the limestone and roll it into balls with your hands, you want the balls to not fall apart but to be firm and ideally not sticky (typically you want them so they leave a little bit of residue on your hands). Make sure your hands are clean and do not have anything on them such as moisturiser.
If the limestone will not stick together to form balls try stirring it a bit more or working it between your hands more to form a more even consistency. If the ball still crumbles you can spray on a tiny bit more water.
*note* you can also press put the limestone flour mix into moulds if you prefer however they will take a lot longer to dry if you do this.
Step Four
Place the balls in a bowl or on a clean tray and flatten them leaving enough space between each one for them to dry easily. Leave them somewhere sunny and/or warm to dry (the less wet they are to start with the less time they will take to dry).
Step Five
Once dry they will be hard blocks. Put them in your snail tank(s) for your snails to enjoy and store any spares in an airtight container.


 )
)
